This is to remind all of you about our meeting which will be held at Rich Daugherty's shop. His address is 5201 Jay Ave. 89130.
Our next meeting will be on March 21, at the normal time: 7:00. BUT - this meeting will be held at Rich Daugherty’s woodshop, which is located at 5201 Jay Avenue, Las Vegas 89130.
These are his directions:
From Cheyenne and Rancho, go north to Jay Avenue. There's a church on the corner of Rancho and Jay which is your landmark for the turn. If you get to Gowan you've gone a block too far, but you can turn right on Gowan, go east to Thom, turn right and go one short block to Jay and run right again. Jay also goes through to N. Decatur.
He will be cutting a lambs tongue so if you're not too sure as to what the heck that is, this meeting will be a good one to learn about that. Personally, I can't wait to see his shop with the bench he's building and especially his collection of tools. Hope to see you there, last meeting we had a few of the members bring in smallish sized projects they had recently finished. The Show & Tell session went well and I think everyone enjoyed seeing what was brought in. If you have something you'd like to share bring it with you.
Tuesday, March 20, 2012

Sunday, March 18, 2012
Info about our March meeting
Two words - FIELD TRIP!!!
Sin City Woodworkers, a Vegas valley social and networking group committed to serious (and not so serious!) woodworking discussions, meet on the third Wednesday of each month to share everything from techniques and ideas to information about local suppliers and much more. We usually meet at Studio: Wood It Is! but this month, we’re changing things up a bit.
Our next meeting will be on March 21, at the normal time: 7:00. BUT - this meeting will be held at Rich Daugherty’s woodshop, which is located at 5201 Jay Avenue, Las Vegas 89130.
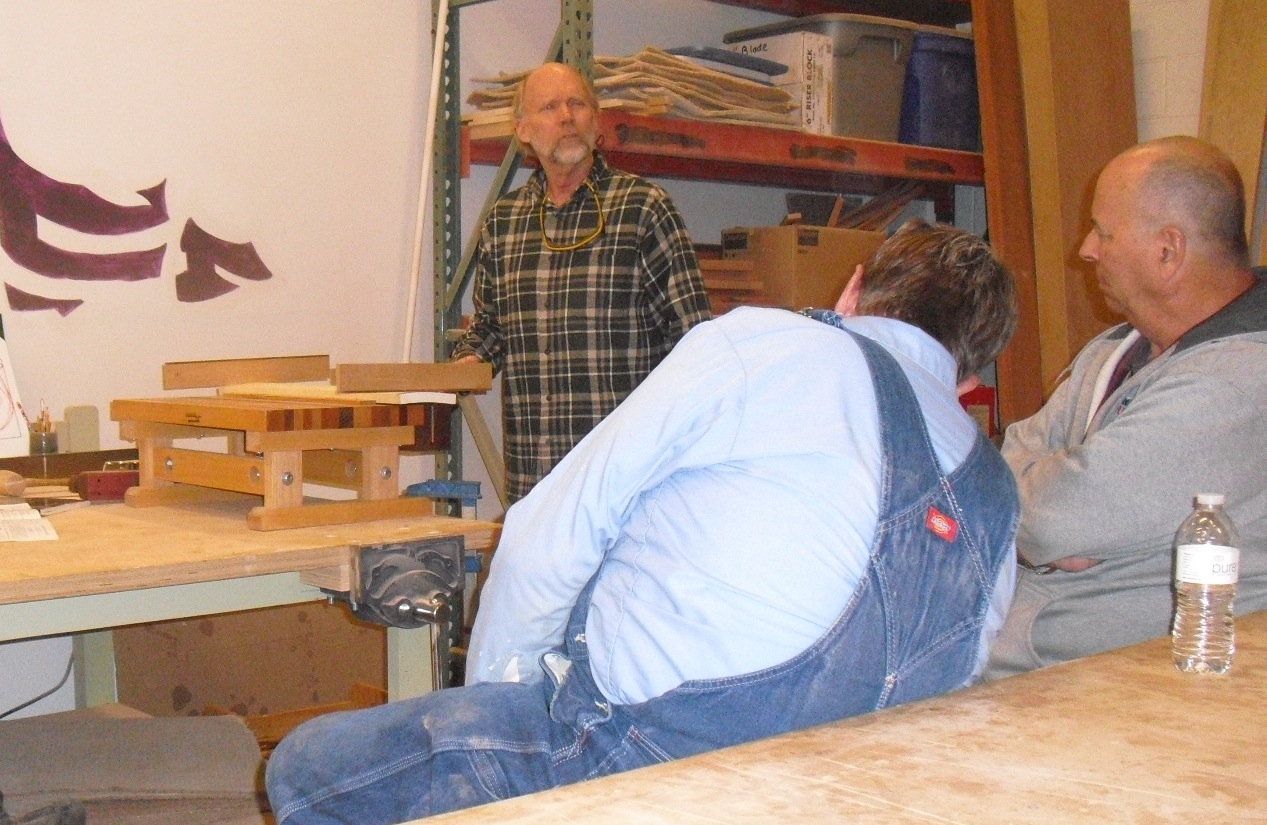
Rich is planning on doing a demo of cutting a lambs tongue on the end of a stopped chamfer, as he did with his 17th century Moxon twin-screw vise. It's a big chamfer in maple, and he’ll use a carcase saw, chisel & mallet, float, chisel plane, and his secret weapon - Auriou rasps. Rich is a tool aficionado, and his shop is probably full of more goodies than a Lee Valley store, so you’ll definitely want to join us!
Rich sent along these directions:

From Cheyenne and Rancho, go north to Jay Avenue. There's a church on the corner of Rancho and Jay which is your landmark for the turn. If you get to Gowan you've gone a block too far, but you can turn right on Gowan, go east to Thom, turn right and go one short block to Jay and run right again. Jay also goes through to N. Decatur.
Hope to see you there, this is going to be an interesting one!
Thursday, February 16, 2012
Tabled at the Meeting
 |
| Waiting by the Heater |
The focus of this meeting was Tables, specifically how to attach the tops to the leg and apron assembly. Jamie explained how you must take the movement of the wood into consideration. You can't just screw or, heaven forbid, nail that top down tight! Living here in the desert, the seasonal swings of humidity aren't much of an issue but if you've ever brought a piece of wooden furniture from a different climate, chances are pretty good that it has developed splits and cracks as the lack of humidity here causes the wood to shrink. This shrinkage and expansion occurs across the grain of the wood and is pretty substantial. So the problem is the wood moving in width, not length. Now, how do you deal with this when you're planning to make a table.
If the table top is relatively small, like say on a plant stand; you can probably get by if you elongate the hole for the screw used to attach the top. When you do that though you can't be Joe Knots on the screw! It needs to be snug enough to hold the top in place but not so tight that it prevents that seasonal movement. A store bought counterpart to that would be what's referred to as a figure 8 fastener. Although there isn't a picture to illustrate it, you can imagine a piece of metal in that shape. One end is fastened to the apron and the other to the top. The holes are large enough to allow a bit of movement.
 |
| Shop Made Buttons or Wooden Clips |
 |
| Metal Z-Clips |
To illustrate these things Jamie had two, beautiful table bases to share with us. Both were made of 8/4 Ash and different in their design and construction. In case you missed the story behind this one:
 |
| Trestle Table |
The other table she used was this one:
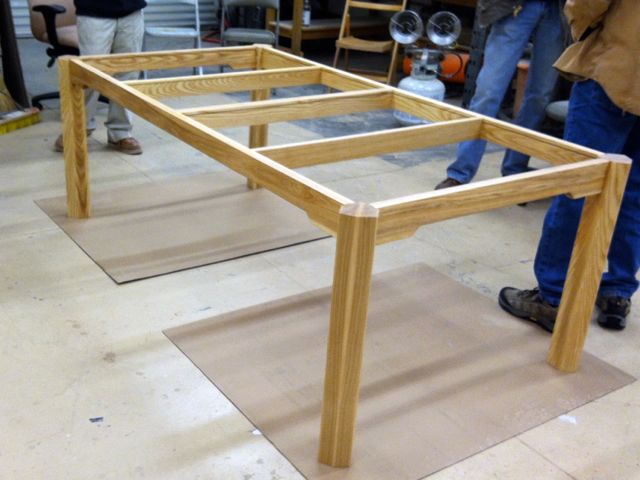 |
| Ash Apron and Legs |

The picture has some glare but the title is Creating Coffee Tables and here's an Amazon link Creating Coffee Tables if you're interested in adding it to your library.
The other book that Jamie referred to for design parameters and concepts is actually available from Amazon as well, however; at $135.00 a copy you may want to explore the internet for free resources, there are many practical design books available that are probably a tenth of that cost. If you want to check it out though, here is the Amazon link to Seth Stem's book.
Another activity we enjoyed at this meeting was seeing some of our members work and collections. Allison brought in her unique project:
 |
| Allison's Secret Jewelry Stash (shhhh!) |
Neal has been busy trying his hand at carving and shared this project with the group:
 |
| Basswood Plaque |
Ed brought in this plane, another part of his sons yard sale find in the Carolina's:
 |
| Ed's Plane |
We ended the evening with Ted's Treasure Trove:
 |
| Beautiful, just Beautiful |
All in all, a very good meeting and I think everyone would agree. It was nice having people bring stuff in to share with the rest of us. As always, I'm going to encourage you all to plane a demonstration to share with the rest of the group. Many have stepped forward so don't be bashful -- besides if you do it'll save you the $20.00 dues for the year.
Tuesday, February 14, 2012
Tables and Such
Just to remind all of you about our monthly meeting, tomorrow beginning at 7:00 pm. In case you missed the MeetUp reminder that Jamie sent out the subject will be tables.
She put in a teaser:
A 5 - legged table
chez, I never heard of such a thing!
That alone is worth the price of admission. Tables are one of those pieces that every woodworker will want to tackle sometime during their woodworking adventures. They have lots of design considerations in regards to leg and apron joinery and the all important concern of making and connecting the top to the apron. You have no doubt seen the ones Jamie's been working on during the last few meetings, now's the time to ask her questions about them and carry them back to your own shop.
See you there, remember to bring a chair and a friend if you want.
Sunday, January 22, 2012
Wednesday, January 18th. Meeting
At our January meeting we had several new faces who came out in spite of the chilly weather we've been having lately. Lucky for us, Jamie had a couple of propane heaters going so it was quite pleasant. Being this months presenter and demonstrating hand planing I managed to keep warm enough with my plane work! The goal of this demonstration was to show how you can get a warped, cupped board into a usable condition. Many of our members have a power planer of some sort or another but usually not a jointer. No matter what you do, if the board is cupped or warped and you run it through your planer all you'll get is a thinner, cupped or warped piece. There is a traditional method to flatten a board and that's done with what's called a Scrub Plane. These are designed to take shavings as thick as an eighth of inch off a board with a blade that has been radiused. Having recently built one Jamie thought it would be a good demonstration for the group and hopefully you all agree. The blade I used was from Ron Hock who makes excellent tools including chip breakers, plane blades, and spokeshaves. The blade is designed for what has become known as the Krenov style plane. My design modified this style by adding a handle (tote) to the rear and a contoured knob to the front. This was to have more control and a better grip on the tool. See the photo below:  |
| Over-Sized Drawing showing main Scrub Plane Parts |

Here's a short video showing the scrubbing action and the shavings it produced. If you listen you can hear when the board didn't like the way the plane was traveling across it.
To gauge your progress you can use what's called Winding Sticks. By placing these across the board and then sighting over them you can determine where the board is high or low. You could also lay it on a flat, machine surface to see it it rocks or not. To flatten a board in a power planer one side must sit flat. As you can see in this picture, the cup in this board is so bad you really don't even need to use the sticks!
 |
| Using Winding Sticks |
Once the cup or warp is removed, it's time to take a jointer plane to remove the somewhat scalloped cuts made by the scrub plane. There isn't a photo of that but in the video below you can see it laying on the bench. I have an old #7 Stanley. That plane is 22" long so it can span a lot of surface to flatten it out. After all of the scrub plane marks are gone it's time to pull out a smooth plane. This plane features a very slightly cambered blade and a tight mouth. It should be set to take a super fine cut.
 |
| Final Flattening with a Smooth Plane, Jointer Plane use not shown |
Before starting with the smooth plane it's a good idea to make pencil marks all across the board for a visual reference. Once all of them are gone you know you've planed the entire surface and it's time to do your final dimensioning and smoothing. If you have a power planer you don't need to do the opposite side unless, like me, you love the look and feel of a hand planed piece of wood! For the demonstration I did show how to do the opposite edge. In that instance you run the scrub plane only over the high, outside corners of the cup.
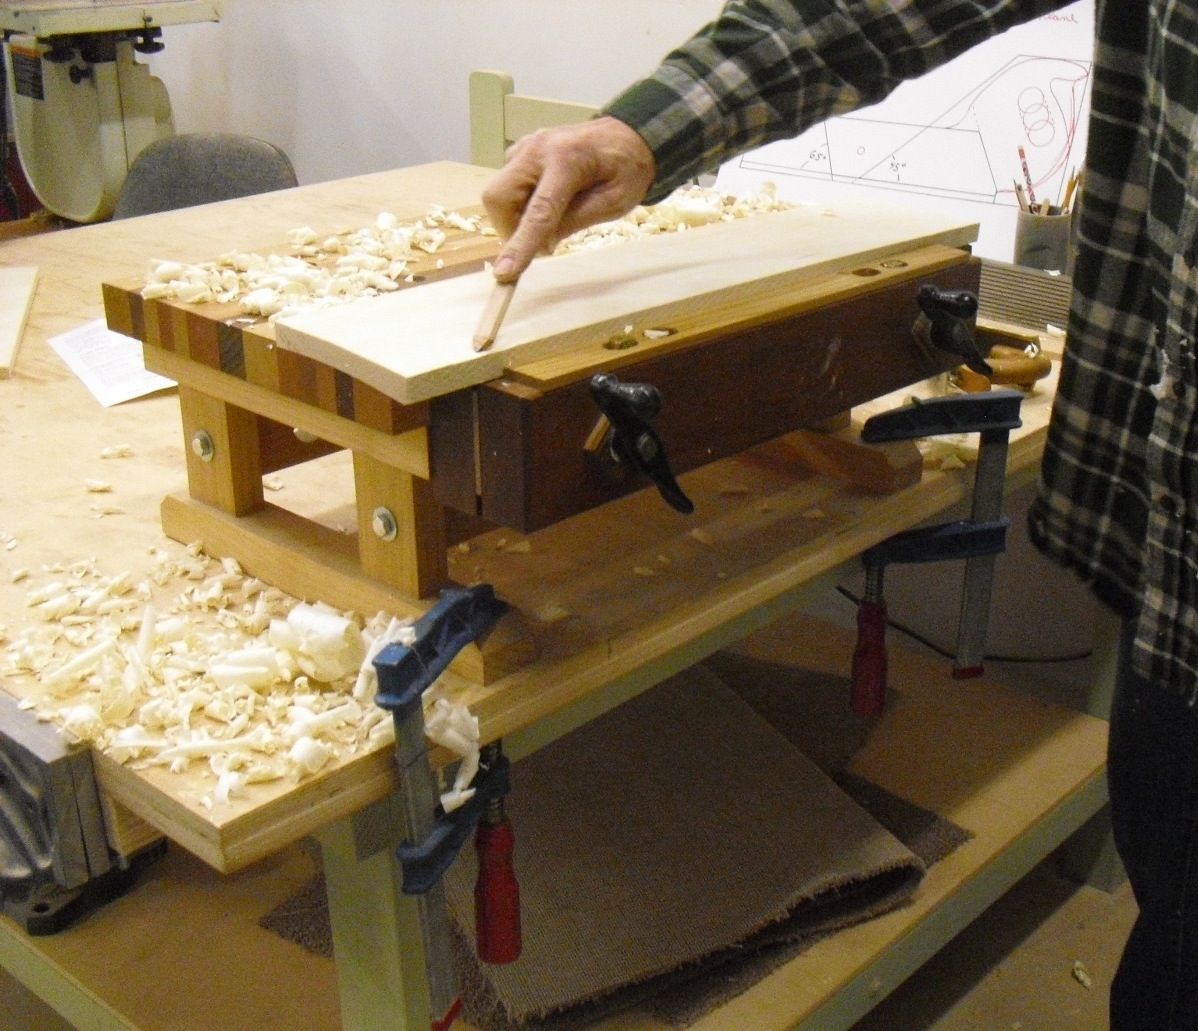 |
| Using a Pencil to mark across the board. Visual Aide to see where you've planed. |
Here is another short video showing the smooth plane in action. Again, listen carefully towards the end of it for that protest from the board as the grain direction changes and it told me to change direction:
A number of you asked about the possibility of holding a class at Jamie's studio to make your own plane. I've taught hand tool work at the studio and also do one on one instruction at my shop. Jamie told me that if there is interest we could schedule a 3 day session for making your own planes. I don't know but Ron Hock may give some discount if we were to place a quantity order. The bottom line is that this is all possible. I've personally taught many people how to set up and use hand planes and the majority of them really like adding that to their bag of woodworking techniques. If you're interested in that contact either Jamie of me so we can set that up.
There's something very satisfying to working in your shop quietly, no dust, no machines roaring, no whirring blades and producing a beautiful board after making a pile of shavings like these:
 |
| Fine Shavings = Fine Board |
Monday, January 16, 2012
Meeting Reminder: Weds. January 18th.
No matter how you look at this, right side up .......

or wrong side down .........

This is one, cupped board !!
If you're a smart woodworker you'd never take this piece home with you but what if it's all they have? Worse yet, what if you don't have an 8" wide jointer to tame this nasty board? Well, with some luck the demonstration at this weeks meeting will try to answer that question.
Usual time: 7:00 till ??
Same Place: Wooditis Studio
2267 W. Gowan
North Las Vegas, 89032

or wrong side down .........

This is one, cupped board !!
If you're a smart woodworker you'd never take this piece home with you but what if it's all they have? Worse yet, what if you don't have an 8" wide jointer to tame this nasty board? Well, with some luck the demonstration at this weeks meeting will try to answer that question.
Usual time: 7:00 till ??
Same Place: Wooditis Studio
2267 W. Gowan
North Las Vegas, 89032
Hope to see everyone there.
Saturday, December 24, 2011
Christmas Party Part 2: Oscar Meyer vs. SawStop
 |
| Hot Dog 1 / SawStop 0 |
One of the exciting things at our Christmas Party was a real, live, SawStop demonstration. Jamie had managed to obtain a blade and a new, replacement cartridge from SawStop so that we could see the machine in action. SawStop was good enough to also donate a bunch of their hats with the logo prominently displayed on the front -- really nice hats!
I think that most of us had seen a video of the SawStop in action and it's really an amazing technology. Being a retired shop teacher I'm only too aware of the joke about a shop teacher trying to order ten beers with a number of his digits gone! But, check this out, the video below is the one that Jamie took and it should open up easily. After you watch that one, click on this link:
http://www.youtube.com/watch?v=AygWhR2E6Kc
Lupe took this with her I-Phone and it even has a slow motion section to it, I can see why the insurance industry likes this piece of equipment. I do admit that in my career as a woodshop teacher I've only had one serious accident and that was with a hand held chisel. I'm sure that as a student, kids are pretty apprehensive using tools, the danger comes when we get accustomed to our machines.
Happy New Year to you All
Subscribe to:
Posts (Atom)