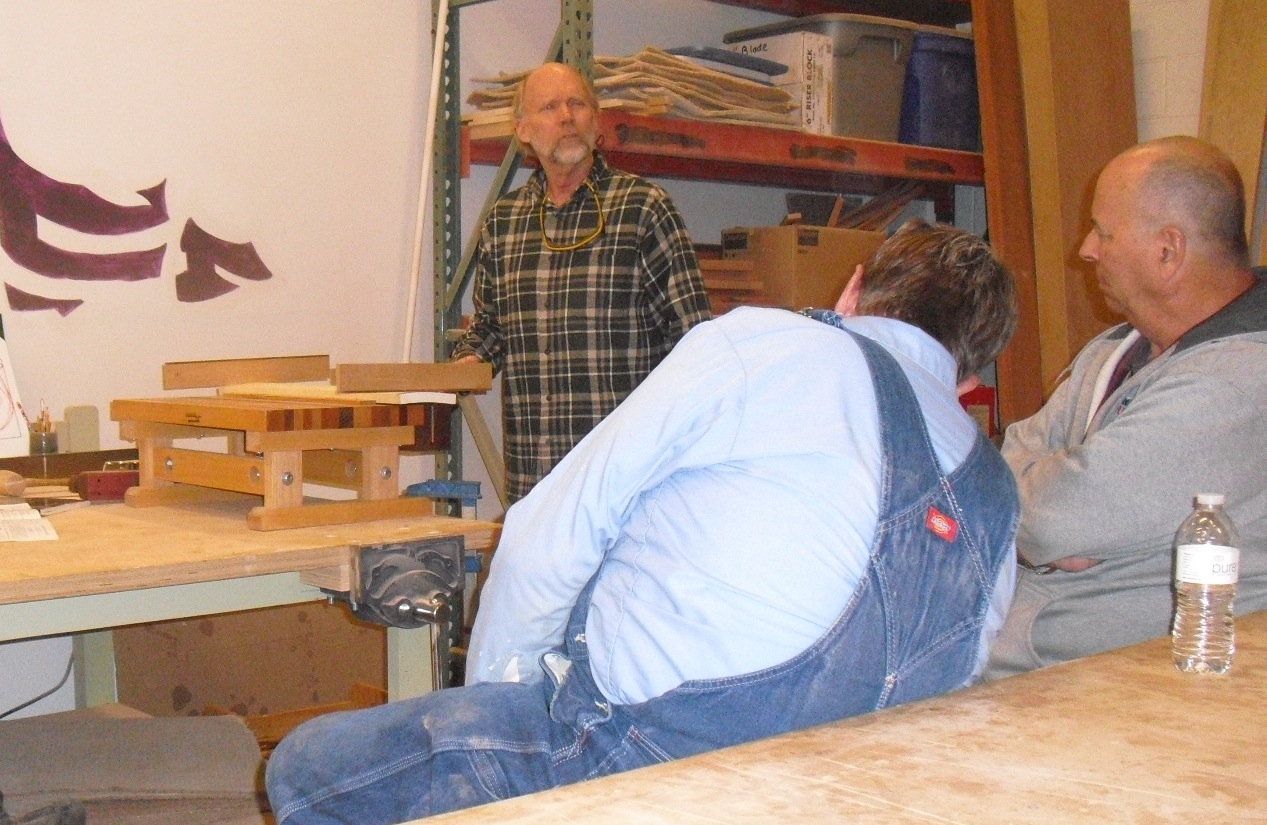
At our January meeting we had several new faces who came out in spite of the chilly weather we've been having lately. Lucky for us, Jamie had a couple of propane heaters going so it was quite pleasant. Being this months presenter and demonstrating hand planing I managed to keep warm enough with my plane work! The goal of this demonstration was to show how you can get a warped, cupped board into a usable condition. Many of our members have a power planer of some sort or another but usually not a jointer. No matter what you do, if the board is cupped or warped and you run it through your planer all you'll get is a thinner, cupped or warped piece. There is a traditional method to flatten a board and that's done with what's called a Scrub Plane. These are designed to take shavings as thick as an eighth of inch off a board with a blade that has been radiused. Having recently built one Jamie thought it would be a good demonstration for the group and hopefully you all agree. The blade I used was from Ron Hock who makes excellent tools including chip breakers, plane blades, and spokeshaves. The blade is designed for what has become known as the Krenov style plane. My design modified this style by adding a handle (tote) to the rear and a contoured knob to the front. This was to have more control and a better grip on the tool. See the photo below:  |
| Over-Sized Drawing showing main Scrub Plane Parts |

Here's a short video showing the scrubbing action and the shavings it produced. If you listen you can hear when the board didn't like the way the plane was traveling across it.
To gauge your progress you can use what's called Winding Sticks. By placing these across the board and then sighting over them you can determine where the board is high or low. You could also lay it on a flat, machine surface to see it it rocks or not. To flatten a board in a power planer one side must sit flat. As you can see in this picture, the cup in this board is so bad you really don't even need to use the sticks!
 |
| Using Winding Sticks |
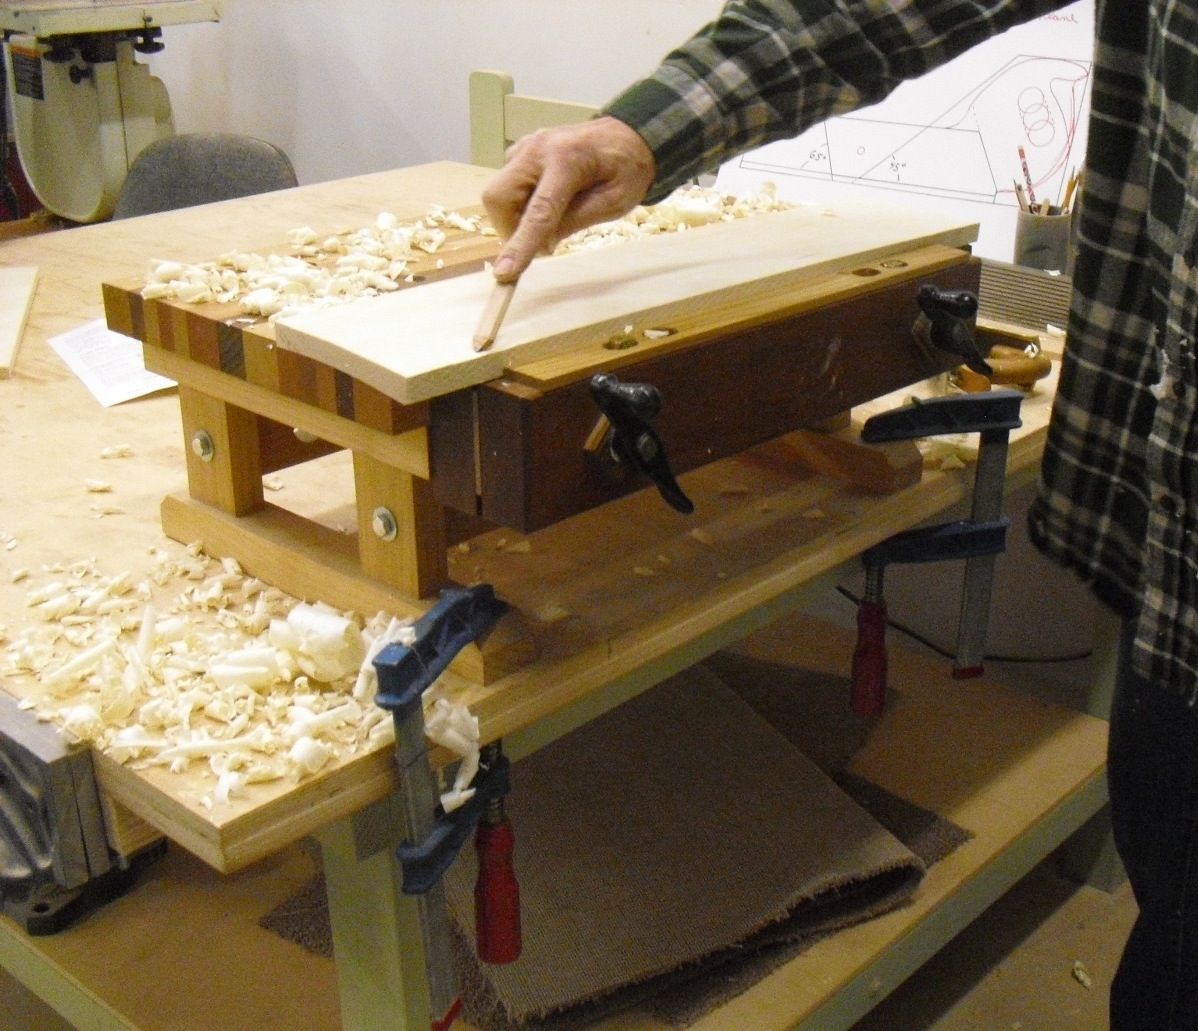
Once the cup or warp is removed, it's time to take a jointer plane to remove the somewhat scalloped cuts made by the scrub plane. There isn't a photo of that but in the video below you can see it laying on the bench. I have an old #7 Stanley. That plane is 22" long so it can span a lot of surface to flatten it out. After all of the scrub plane marks are gone it's time to pull out a smooth plane. This plane features a very slightly cambered blade and a tight mouth. It should be set to take a super fine cut.
 |
| Final Flattening with a Smooth Plane, Jointer Plane use not shown |
Before starting with the smooth plane it's a good idea to make pencil marks all across the board for a visual reference. Once all of them are gone you know you've planed the entire surface and it's time to do your final dimensioning and smoothing. If you have a power planer you don't need to do the opposite side unless, like me, you love the look and feel of a hand planed piece of wood! For the demonstration I did show how to do the opposite edge. In that instance you run the scrub plane only over the high, outside corners of the cup.
 |
| Using a Pencil to mark across the board. Visual Aide to see where you've planed. |
Here is another short video showing the smooth plane in action. Again, listen carefully towards the end of it for that protest from the board as the grain direction changes and it told me to change direction:
A number of you asked about the possibility of holding a class at Jamie's studio to make your own plane. I've taught hand tool work at the studio and also do one on one instruction at my shop. Jamie told me that if there is interest we could schedule a 3 day session for making your own planes. I don't know but Ron Hock may give some discount if we were to place a quantity order. The bottom line is that this is all possible. I've personally taught many people how to set up and use hand planes and the majority of them really like adding that to their bag of woodworking techniques. If you're interested in that contact either Jamie of me so we can set that up.
There's something very satisfying to working in your shop quietly, no dust, no machines roaring, no whirring blades and producing a beautiful board after making a pile of shavings like these:
 |
| Fine Shavings = Fine Board |

