 |
| First Meeting -- Start of our SEVENTH Year!! |
Business of the Month
For starters, Jamie corrected our longevity from last months announcement. We have been organized for a full six years so now we start the seventh of the Sin City Woodworkers. I know my blog mailing list has 104 cards so add that to the people on Jamie's class and MeetUp list and there are lots of people that get the announcements and information about the club. For the next couple of months we will be collecting the optional $20.00 yearly dues. As it has been explained, the bulk of this money is returned to you in the form of refreshments and libations for the end of the year party, gift certificates given during random drawings, and prizes awarded to the top entrants in the annual, end of year contest.
I send out info every once in a while and hope you don't mind that. Recently I heard about an auction for a woodshop going out of business and passed it to all of you on my list. Richard went and saw several of our members there. He bought 4 air filters for a great price but since he doesn't need them all has two for sale. Another thing mentioned is the upcoming AWFS fair in July. I forwarded information to all of you a couple of days ago that I received.
We need a volunteer to coordinate presentations for our meetings. Ted and Dennis have a number of obligations that are interfering with that job. They've done a great job so now we're looking for someone to fill their shoes! Many of the presentations can come from our membership, you just have to be a good persuader to book them. Perhaps someone from the group who is in the industry knows of product reps or shops that perform unique work --- you would be a great one to fill this position.
One of our members, Mike; volunteers his time at the Gilcrease Nature Sanctuary and the birds there need some of our scrap wood (sorry Beth!). Here is a LINK so you can learn about them. He's asked for scraps approximately 6" long by 1" or 2" wide. If you could drill a hole in one end of it so they can be attached to a rope. The purpose is to give the birds something to chew on other then themselves! You can bring them to the meetings and pass them on to him.
Last bit of business was ideas for the End of the Year Challenge. The sooner we can come up with a theme it'll mean more of the members having time to enter. Put on on your thinking caps and email either me or Jamie with your thoughts. Once we have a bunch of them we'll vote on which one to use and you can make the sawdust fly as you prepare your winning entry. If tradition holds, it means $100.00 cold hard cash and who wouldn't like that?
Show and Tell
It seems as if a quite a number of our members are getting into wood turning. The majority of the "Show & Tell" items featured them! I'm sure the demonstration that Jimmy Clewes did plus all of our members bringing their outstanding turnings to the meetings has inspired others to try out turning as well. If you too have the bug, one of our members (Randy) has a Steel City Lathe for sale. Here is a LINK to the Craigslist listing. I'm pretty sure he's dropped the price to $300.00.

John showed off this really cool looking mallet. He is one of those who got the bug after taking a class from Jimmy Clewes. The head was made from a piece of Mesquite and the handle is Oak. He also brought a live edge bowl that he tuned green from a California Pepper Tree. These are his first ever lathe turnings!

Ann brought in a very unique turning -- a Spherical, hollow box made of Walnut. She did mention how at her first ever turners meeting they were told to break out their balls and roll them on the floor!! Needless to say, that led to many innuendo's! Pretty amazing how you can turn the inside and outside and achieve an almost perfect sphere. Then the two halves are rabbeted so they lock together and I'm completely blown away.

In keeping with the turning trend of this session, Ed brought in a couple of very interesting "gizmos" used to accurately cut your pieces for segmented turnings. You can see the results of their use by the segmented and turned vessel in the background. After a bit of searching on the internet I found a video by the guy, Dave Mueller, Ed mentioned he was able to get the plans from. It sounds like it's the right thing, right down to the wedgie Ed mentioned! Here's a LINK to what I found.

Lets merge from turned work to flat work with this transition from Ted. He brought some of each to show at the meeting. The turnings are the closed vessel and vase you see at the right front of the picture. These feature a new type of finishing technique he's experimenting with.
The other item he brought to share was a treasure chest that his grand-daughter requested. He didn't want to make the traditional, Pirate style chest which he thought she might grow tired of as she became older. Instead, he opted for the one pictured that will make an easy transition to a beautiful jewelry box.
 Knowing that he recently purchased a vacuum former it's no surprise to see that's how he formed the top of this treasure chest. Sixteen layers make up this lamination with the top one being a beautiful piece of Crotch Mahogany, here is a LINK to some images of that if you're unfamiliar with the beauty found in the crotch of a tree.
Keeping with the box theme, Beth showed off this one of three boxes she recently completed from a set of plans. It features mitered corners, and of course, the use of any and all scraps she is able to get a hold of! She shared with how complex making boxes can be, especially when you take the time to make accurate joinery. Doing them in sets of three is an efficient way to allocate your work time.

Pete brought in a few samples of his latest, end grain cutting boards. The complicated design on the right consists of Bloodwood, Yellowheart, and Hard Maple. He mentioned Beth because he began to use scraps of left over stock to create the more free form design at the left.

The last show and tell is the video I brought in of my latest commission, a Mechanical Cellarette. There's no way I can bring in the actual piece so shared an experimental video showing it almost completed. The wood is Bubinga and the top will be an inlaid Italian Marble. The purpose of this piece of furniture is to have liquor and glass storage hidden inside the cabinet. This is a electric appliance lift operated via remote control. Someone mentioned that it seemed to be a Prohibition Era piece. In any case, it's been quite a complex project!
Featured Presentation
 |
| Beautiful and Supremely Comfortable |


Lupe has been building several chairs lately. After taking the Adirondack chair class and building two for her outdoor space someone offered to buy them --- so they were sold but alas, no place to sit outside for her and Norm!


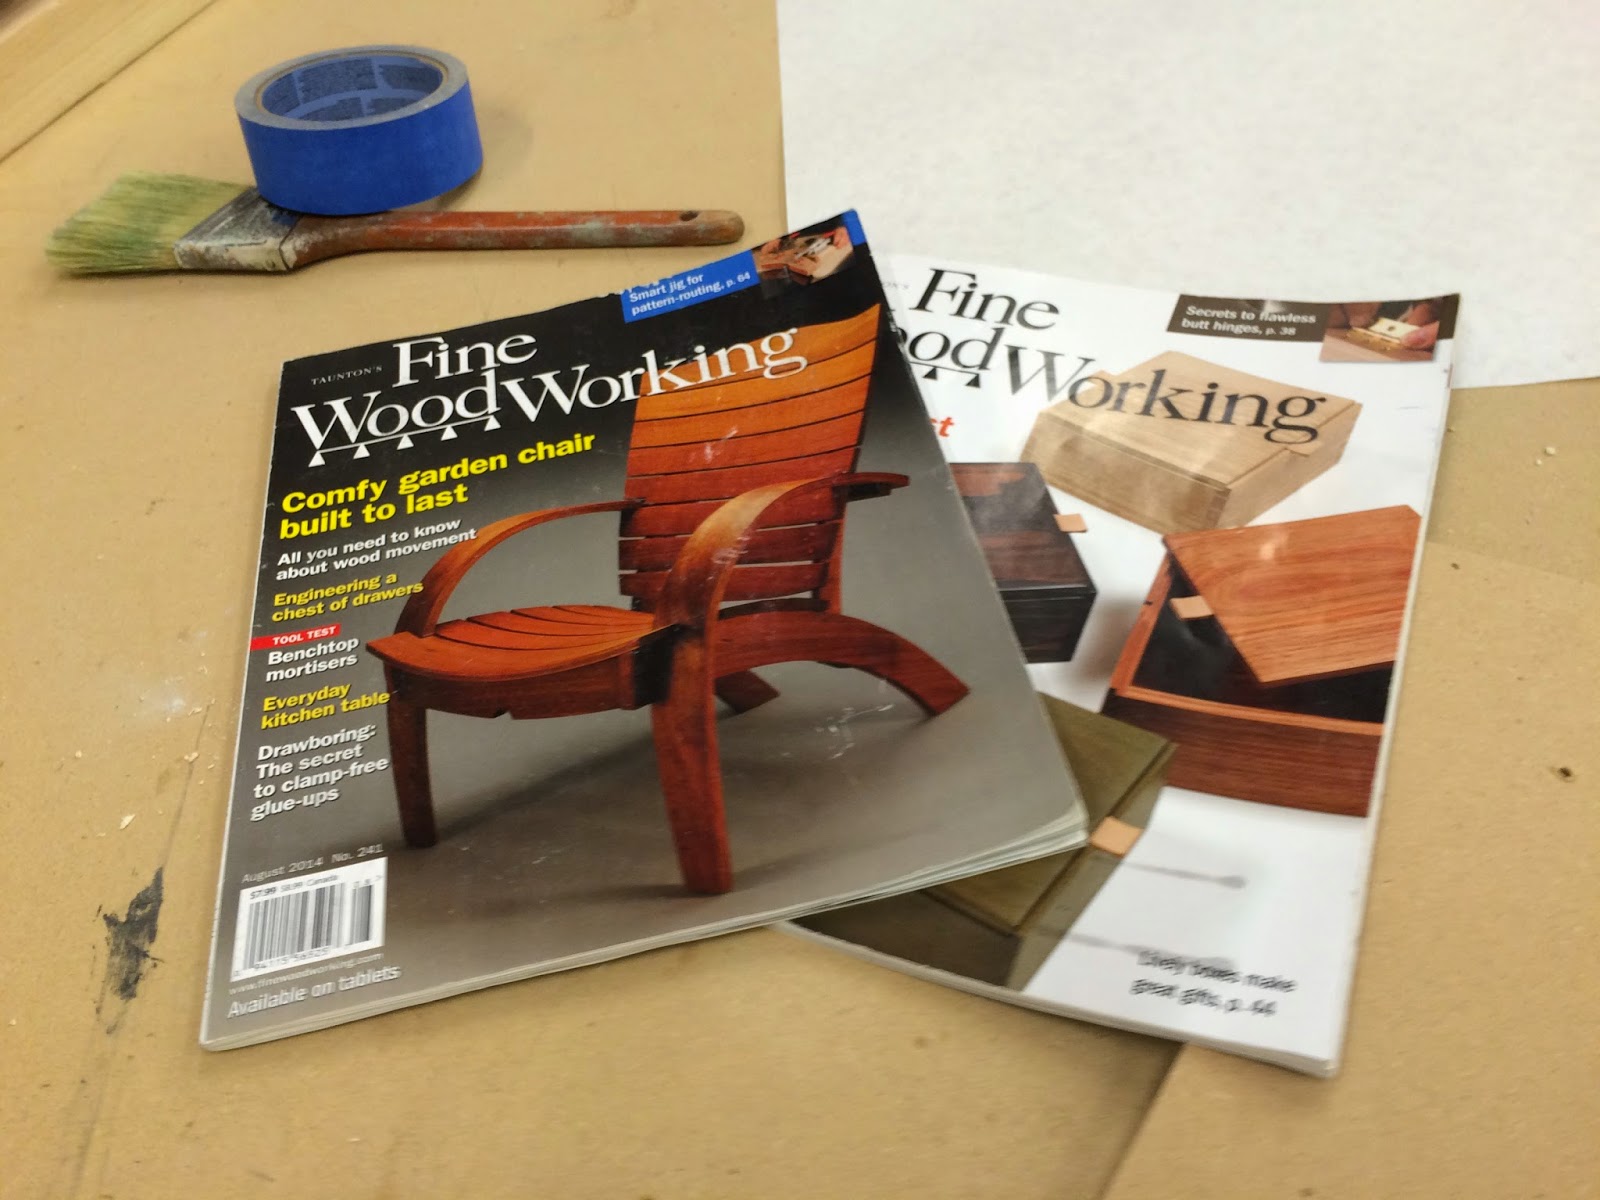
Then she saw these Michael Fortune designed chairs featured in issues 240 and 241 of Fine Woodworking and her gears started turning. Doing bent laminations was on her list of things to do and since these chairs featured that she decided to go for it.
Recall how Lupe started her presentation with the creative way of going about this craft, well here she did a 180 and used plans found in the magazine. Her first comments were that they did give her fits. Any of us that have ever used other peoples plans have discovered that they can be filled with errors and misinformation. It's not intentional but info can be omitted, typed in wrong, or just not there. Fine Woodworking is probably the premier publication so if they have these problems it's best to be aware of that whenever you work from plans. Think your work through thoroughly before cutting. Another area that gave Lupe some difficulties is that he used a bandsaw for most of the work. Now, nothing against the bandsaws in Jamie's shop but compared to what he uses in his career as a professional furniture maker well, there is no comparison! Lupe ended up using a combination of the tablesaw, bandsaw, and planer to get the 112, 6" wide pieces of Mahogany needed for all of the laminations.


After the initial work of resawing all of the laminations, forming and cutting the parts, and laying out all of the joinery and holes for hardware your next step is the finish. Lupe used a Festool sander with a sponge pad and sanded everything down to 220 grit prior to assembly. Once things were assembled everything was sanded further with 320. Since these were going to be used outdoors she knew the Watco oil and top coat formula that we both use would need to be modified. She discovered this product in her research, a penetrating oil finish that is used on boardwalks in major theme parks around the world. She experimented with it and found that it repealed water! This was wet sanded onto the chairs all the way down to 1500 grit wet/dry paper. If you felt them you know how good they are. Here's a LINK to that product, I have a dining table that needs the top reworked so I may need to buy a quart or bum some from her!
Keep in mind that we need a volunteer for lining up our feature presenters, over half of them are set for this year so you can ease into it. Volunteering is good, I've been doing the blog for a long time (any journalist have the urge to take it over?).
Also think of a theme for our end of the year contest. We've had the Chopped Challenge and the 2 x 4 x 8 Challenge. What can you think of?

