As is my habit, I count the number of people that show up for our meetings and to tell you the truth, I was pretty amazed last Wednesday. Ran out of fingers and toes because we had 36 of us there and I've added another 7 to my mailing list. Speaking of that, does anyone know Chris Hagen? He put himself on that list but his email keeps coming back to me. If you know him would you let him know so he can contact me (eugster96@cox.net) and I can get his address correct.
As you can see by the crowd of us gathered around Pete, 36 people in Jamie's shop helps to keep the warmth in the room. I'll show more of his amazing looking cutting boards later in the blog. Jamie mentioned that next month marks our 4 year anniversary as a bonafide group. That's an accomplishment by itself. I thought it was kind of cool that several of you mentioned that you were "charter members", I wonder how many of us there are that can say that? We've come a long way from being chased out by the security guard at the library!
 |
| Gather Round, Stay Warm, and Check it Out! |
After our round the room introduction tradition a few important items were brought up. One of them has to do with a new class that Jamie has added to her schedule. It's a 6 week carving class that will meet on Monday evenings from 6-9pm beginning on Feb. 25. The class will be taught by Dennis Patchett, here's a
LINK to Jamie's page for more information or to sign up.
Another item of interest is that Eric Felder announced that there will be assorted power and hand tools for sale through the school. They will be re-furbished by Eric as needed and you can find them in the lobby area where the lending library is. If you have tools that you no longer need there's a possibility that you could place them there as well but space will be limited. Contact either Eric or Jamie for more information about that.
Beginning next month dues will be collected. These are voluntary and are a bargain price of $20.00 for the year. Money goes to maintain the Meet-up website and some other administrative costs. The majority of it seems to be returned at our annual Christmas party in the form of refreshments (hard and soft!) and those ever popular gift cards to Lee Valley.
We had a few members bring in some items for our show and tell session. First up was Ron Seipel who showed off some truly cool looking toys that he has made. Being a new grandfather myself I can definitely relate to this. I have a monster truck plan brewing for my own 2 year old! Look at what he brought in to share.
 |
| Nice BiPlane, Notice the Engine Details |
 |
| Looks Like a P-51 Mustang |
 |
| Minimum Up Keep Pooch! |
Among the items needed to make these types of projects are wheels, pegs, and caps. He mentioned that a good source for them is Meisel Woodworking. I found them on the web so here is a
LINK to make your search easier. Just took a quick look myself at what they have to offer and they seem to have it all.
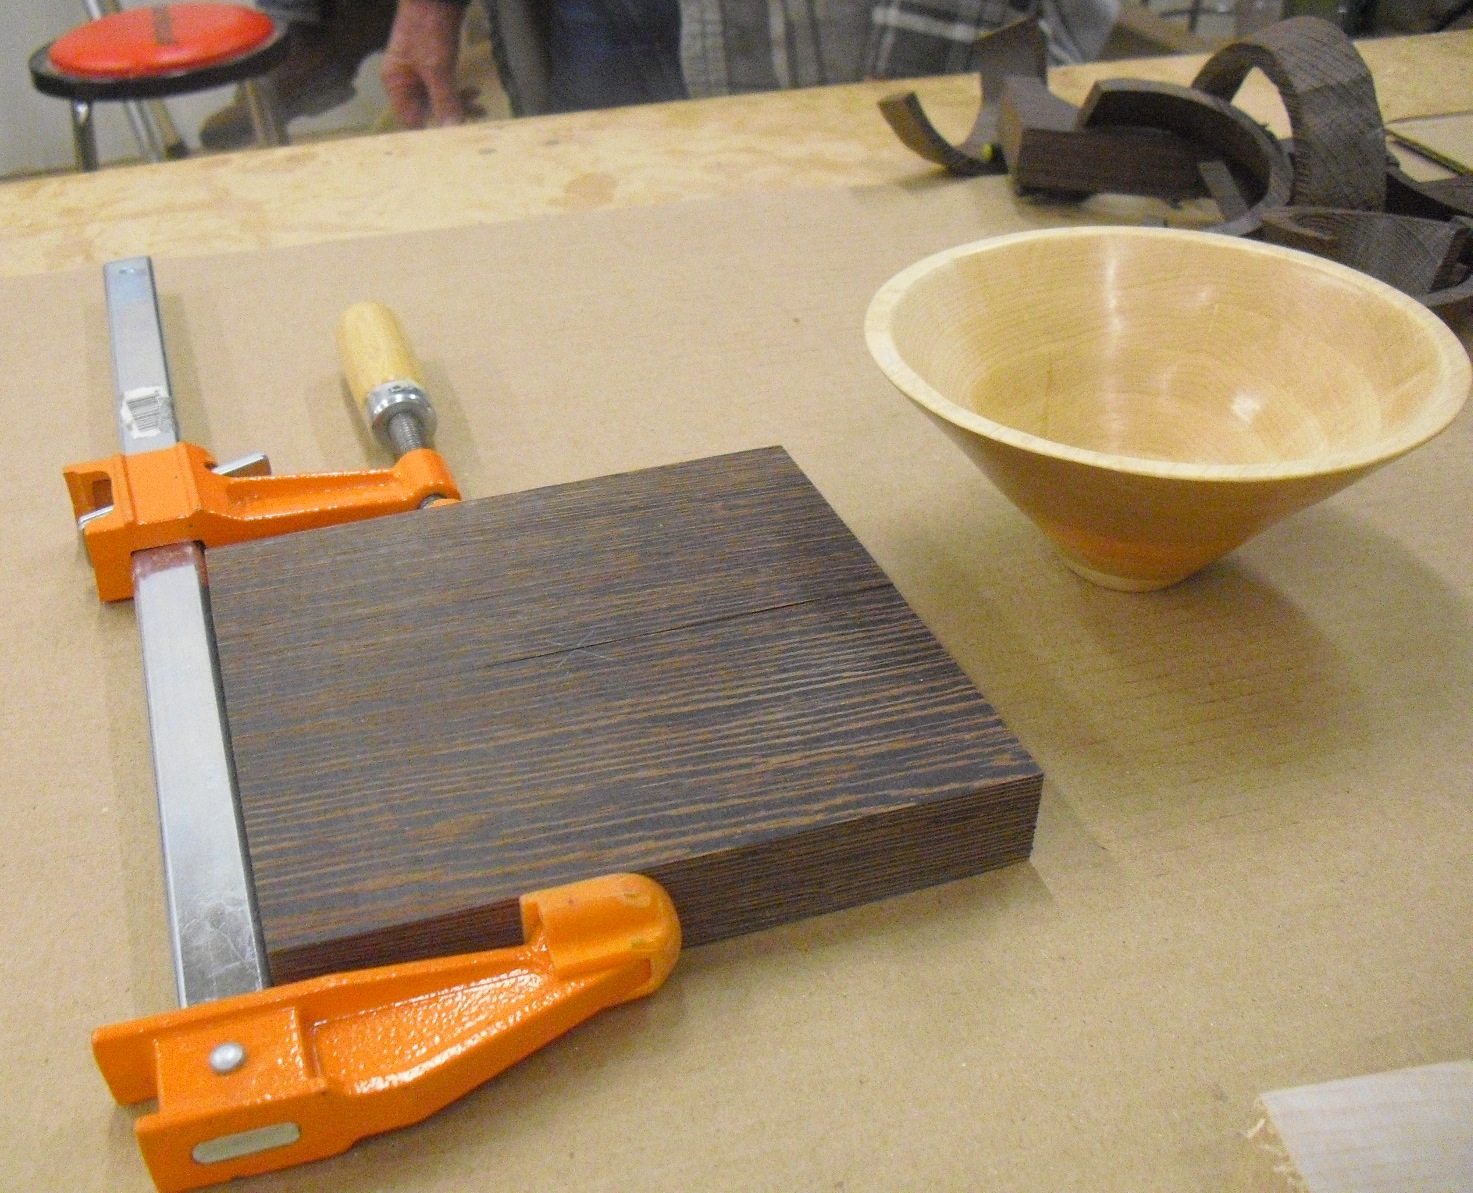
The next person to share with us was Ed with his infamous, one board bowl. As you probably know, he's gotten on a lathe phase and last meeting teased us with the one board bowl concept. I gave you the website for the person who I think, is the creator of this process. Like it says, you use one board and cut it a certain way to produce the bowl.
 |
| Board = Bowl |
 |
| You Can See It Created Some Interest! |
The process starts by cutting your desired board in half. In this case he's using a piece of Wenge. He explained how to calculate the angle you set your bandsaw table at but I'm afraid I missed that but suffice to say that the table is angled. Next you cut out segments as shown in this picture:
 |
| Parts is Parts |
These are then glued together. Basically you use what's referred to as a "rub joint". If you're new to woodworking this joint is made by putting glue on the surface and then rubbing the two pieces together. You can feel the glue starting to grip, then you you simply hold it together for 15-20 seconds and set it aside to dry. Common uses for this method would be for reinforcing blocks in corners or maybe under a table top.
 |
| Stacking and Staggering Layers |
Once the segments are dry they are glued one on top of the other making sure to stagger the joints. The final assembly can be clamped by putting weight on it or else Ed mentioned running the drill press quill down on the whole assembly and then locking it in place. He uses either Roo-glue or Titebond for these bowls. Speaking of bowls, Eric gave his recommendation for a one day lathe workshop offered by Jimmy Clewes and showed his that he made. Several others in the group, including Jamie, have talked about him before. Jamie is trying to talk him into doing a demonstration for us but until then, here is a
LINK to his website. It lists dates and gives more information about him and his work.
The main presentation of the meeting was made by Pete Hauser. As you can see, it brought everyone around him so we could understand what his technique is to make his end grain cutting boards. The question came up, "what's special about end grain?" and that may have been something others were thinking as well. I like how he answered it, as a teacher I would use the same type of analogy that wood is a series of straws rather than a solid piece, he uses broomsticks for his analogy. If you picture it that way it's easier to imagine a knife cutting on the end of a brooms bristles, it will go between them rather than cut across. This way your knife edge doesn't dull and the marks it leaves won't be very noticeable.
 |
| Check it Out |
In the photo below, he's pointing out the pattern. What makes these boards so interesting is that the pattern is hard to discern and it leaves you scratching your head as you try to figure it out! Let me see if I can explain the process. Lupe challenged me to do it in such a way that she could make one of these even though she was off galavanting in warm, tropical Panama and wouldn't cut her trip short to make the meeting.
The process starts by taking your pieces of wood and gluing them up edge to edge. The pattern will be determined by the number, size, and coloration of those pieces. The unfinished blank below the one he's pointing to is that blank. You can see that the lighter pieces of wood are wider than the dark ones. Varying the width varies the final boards design.
 |
| Examples and the Start of A New One |
Once that blank is dry you'll cut it apart and number the strips. The thickness of the board is determined by how wide you cut these pieces. To get the seemingly random pattern Pete would flip every other strip end for end -- that's the secret for getting that offset. These are carefully glued together, 3 or 4 strips at a time. Any more than that and it becomes a real hassle to keep them from sliding around as you clamp them up. You can see those strips at the upper, right side of this picture:
 |
| Upper Right, Unfinished Piece |
The more variation you put into the first strips, the more complex your final result will appear.
 |
| Different Species + Different Widths = Different Results |
I wasn't the only one to see
Escher's type of work in these boards. The patterns seem to repeat over on to itself. Don't try to cut a straight slice of bread if you've been enjoying your wine!!
Once everything is glued, clamped, and dry it's time to smooth things up. Pete uses Titebond III for these cutting boards. He recommends using it sparingly to avoid filling the end grain with it. Pretty difficult getting that cleaned up. The best way to attack this is with a wide belt sander. Some of you know Larry Yule who has a shop and excels at custom work. Pete found him and was able to rent time on his 36" wide belt sander to work down his boards. The finish on these boards will be either plain mineral oil and he's also starting to use a product called Tried & True. The goal is to completely saturate the pores of the wood with the oil to seal it against whatever you're going to cut on it.
As an added bonus to his demonstration, Pete also brought in one of the boards that Larry makes. This is really crazy! I've talked with him before on these boards and you'd be hard pressed to figure out the way Larry puts these together --- that's his own, best seller secret!
 |
| Larry Yule's Board |
If you look close you can see how he inserts a small piece at random to throw off the pattern. Not only does it fool your eye it also throws off your attempts to establish the pattern.
 |
| Another View of Larry's Board |